Overview
Seaside is the open source framework of choice for developing sophisticated and dynamic web applications. Seaside uses the power of objects to master the web. With Seaside, building web applications is as simple as building desktop applications. Seaside lets you build highly dynamic and interactive web applications.
Seaside supports agile development through interactive debugging and unit testing. Seaside is based on Smalltalk, a proven and robust language implemented by different vendors. Seaside is now available for all major Smalltalk environments: Pharo, Squeak, GNU Smalltalk, Cincom Smalltalk, GemStone Smalltalk, and VA Smalltalk.
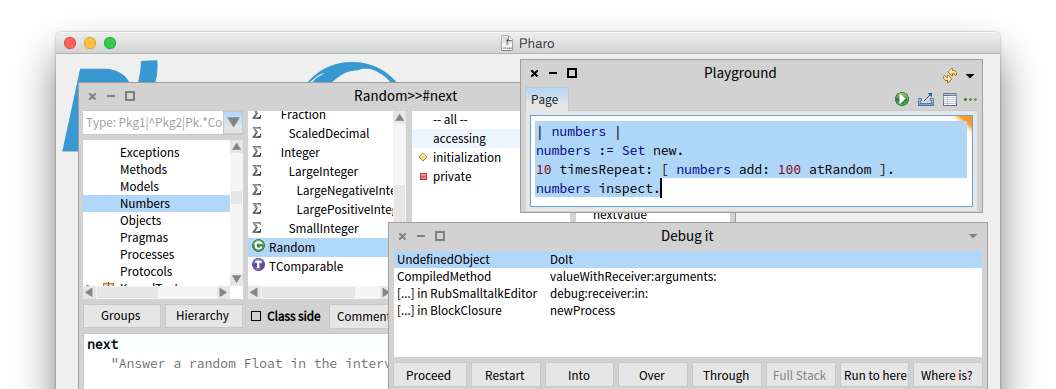
Seaside provides a layered set of abstractions over HTTP and HTML that let you build highly interactive web applications quickly, reusably and maintainably. It is based on Smalltalk, a proven and robust language that is implemented by different vendors.
Loading Seaside
To load Seaside evaluate the following in the Playground.
Gofer new
    url:'http://www.smalltalkhub.com/mc/Seaside/MetacelloConfigurations/main';
    package: 'ConfigurationOfSeaside3';
    load.
((Smalltalk at: #ConfigurationOfSeaside3) project version: #stable) load.
Notes
Some general notes on programming using the Seaside framework
Never (only exception would be for testing purposes) use the style method. Always use updateRoot to specify the libraries you want to make use of - either from a friendly cdn or served using a local webserver. Running a simple http server such as is supplied with Python is a perfect solution when building / testing an application.
Start the test webserver - in the folder where the assets are stored
python -m SimpleHTTPServer
Updated updateRoot method
  updateRoot: anHtmlRoot
  super updateRoot: anHtmlRoot.
  "anHtmlRoot stylesheet url: (RP_ToDoFileLibrary urlOf: #bootstrapCss)"
  anHtmlRoot stylesheet
      url: 'http://maxcdn.bootstrapcdn.com/bootstrap/3.2.0/css/bootstrap.min.css'.
  anHtmlRoot stylesheet
      url: 'http://maxcdn.bootstrapcdn.com/font-awesome/4.2.0/css/font-awesome.min.css'.
  anHtmlRoot stylesheet
      url: 'http://localhost:8000/css/top_10.css'.
Just because you can use JQuery directly in your code doesn't mean its the best way to do things. Use separate js files and serve these from a webserver (see above). Update the updateRoot method as appropriate.
Having said that here is a quote from the Seaside book -
The standard way of doing so in jQuery is to keep all the Javascript functionality unobtrusive in a separate Javascript file. This is possible with Seaside, but not the suggested way. In Seaside we try to encapsulate views and view-related functionality in components. Furthermore we keep components independent of each other and reusable in different contexts, what does not work well with sharing unobtrusive Javascript code. Additionally, the unobtrusiveness comes into the way when we want to define AJAX interactions.
I guess - in the end - the method that is used will depend on the particular problem that is being solved - mix and match. Some examples are given below.
Callbacks
Callbacks are awesome. However what has caught me out on a number of occasions is when the callback: has been the last message in the cascade and have found that it is not registered. The point is - always place the with: as the last message in the cascade after any 'callbacks'.
  html div
    class: 'col-md-12';
    class: 'note-action';
    with: [
      html anchor
	      class: 'add-note';
	      callback: [ self addNote: aTask ];
	      with:  [
	        html span
		      class: 'note-link';
		          with: 'Add Note'.
	      ].
    ].
JQuery / AJAX
Making sense of the existing Seaside JQuery documentation is not as easy as it should be (at least for me) - a number of examples that illustrate how basic interactions and ajax calls can be performed using Seaside can be found on github.
Ajax Form processing in Seaside
- When you use regular form submission, Seaside will trigger the callbacks for all fields inside the form for you. When you want to trigger the form submission as an ajax request, the Seaside-jQuery's #serializeForm method will also serialize the contents of all input fields inside the form and trigger their callbacks on the server side in an ajax request, just as in a 'standard' form submission. No need to change the implementation of the form!
- Use 'bePush' method to simulate a JQuery 'preventDefault' action on a button
- Using '#onComplete: is okay but be aware that the javascript is generated when the page is rendered for the first time
- You can only specify a single 'response generating' callback on each ajax request (e.g. only a single script, html, json callback per request). This is a logical limitation since a single request can only generate a single response. You can, however, add multiple 'secondary' callbacks (e.g. the serialize form callbacks, a callback:json:, etc...)
Here are some notes about ajax form processing in Seaside - based partly on notes from StackOverflow (Johan Brichau)
Javascript logging - using 'console.log()'
Logging actions / variable values (and more) to the browser console can be an essential part of development process - but how do you do that in Seaside. Here are some examples.
( html button )
	bePush;
	class: 'getEmail';
	onClick: (  (  html jQuery ajax )
		serializeForm;
		script: [  :s | self getEmailName.
			s << (  ( s jQuery class: #'userName' ) remove  ).
			s << (  ( s jQuery id: #'userData' ) append: [ :r | self renderUserDataOn:  r ]  ) .
			s << ( JSStream on: 'console.log(''test''); console.log(''this'')'  )
		];
		onComplete: ( ( html jQuery id: #'myEmail' ) value: '' )
	);
	value: 'Get User Data'.
html div
  class: 'userName';
  script: (
    ( html jQuery this )
      on: 'click'
      selector: '.tasklist'
      do: ( (
        ( ( html jQuery class: 'taskblock' ) remove ),
        ( ( html jQuery id: 'userDataTasks' ) append: [ :r | self renderUserDataTasksOn: r  ] ),
        ( ( html jQuery class: 'tasktext' ) text: ' - ( Close )'  ),
        ( ( html jQuery expression: ( JSStream on: 'console.log(''render user data'')'  ) ) )
      ) asFunction: #(event) )
  );
Handling expired sessions
In a Seaside application when a session expires, by default the requests made to the application are not 'handled' - there is no active session to indicate what needs to happen. A common user flow when a session has expired would be to display an appropriate login form (or redirect the user to a different webpage). Ken Treis in his blog Something to Talk About outlines how this user flow can be replicated in Seaside.
Add an 'application' class - override WAApplication and add one method - expiryPathFor. This ensures that on expiry the current url has '/expired' added to it.
WAApplication subclass: #CTApplication
  instanceVariableNames: ''
  classVariableNames: ''
  category: 'RP_ToDo'

expiryPathFor: aRequest
  ^aRequest url, '/expired'.
To complete the process add an initialRequest method to the application's root and finally register your Seaside application as an instance of CTApplication instead of WAApplication with the class method applicationNamed.
initialRequest: aRequest

  | myUrl |
  myUrl := aRequest url asString.

  super initialRequest: aRequest.
  ( ( myUrl last: 7) = 'expired' )
    ifTrue:
      [ aRequest redirectTo: '/RP_ToDo' ].

applicationNamed: aString
  | application |
  application := CTApplication named: aString.
  application configuration addAncestor: WARenderLoopConfiguration new.
  application preferenceAt: #rootComponent put: self.
  ^application.
Examples
Top-5 - a ToDo App
The 'ToDo' app has become the starting point of many a getting started tutorial. Top-5 is a variation on this theme. The idea is that you should only have a limited number of tasks on-the-go at any one point in time. In this app you are limited to five. You can edit task details, add an unlimited number of notes to each task and move tasks to and from a Backlog as required. MaterializeJS has been used to support a number of the user interactions.
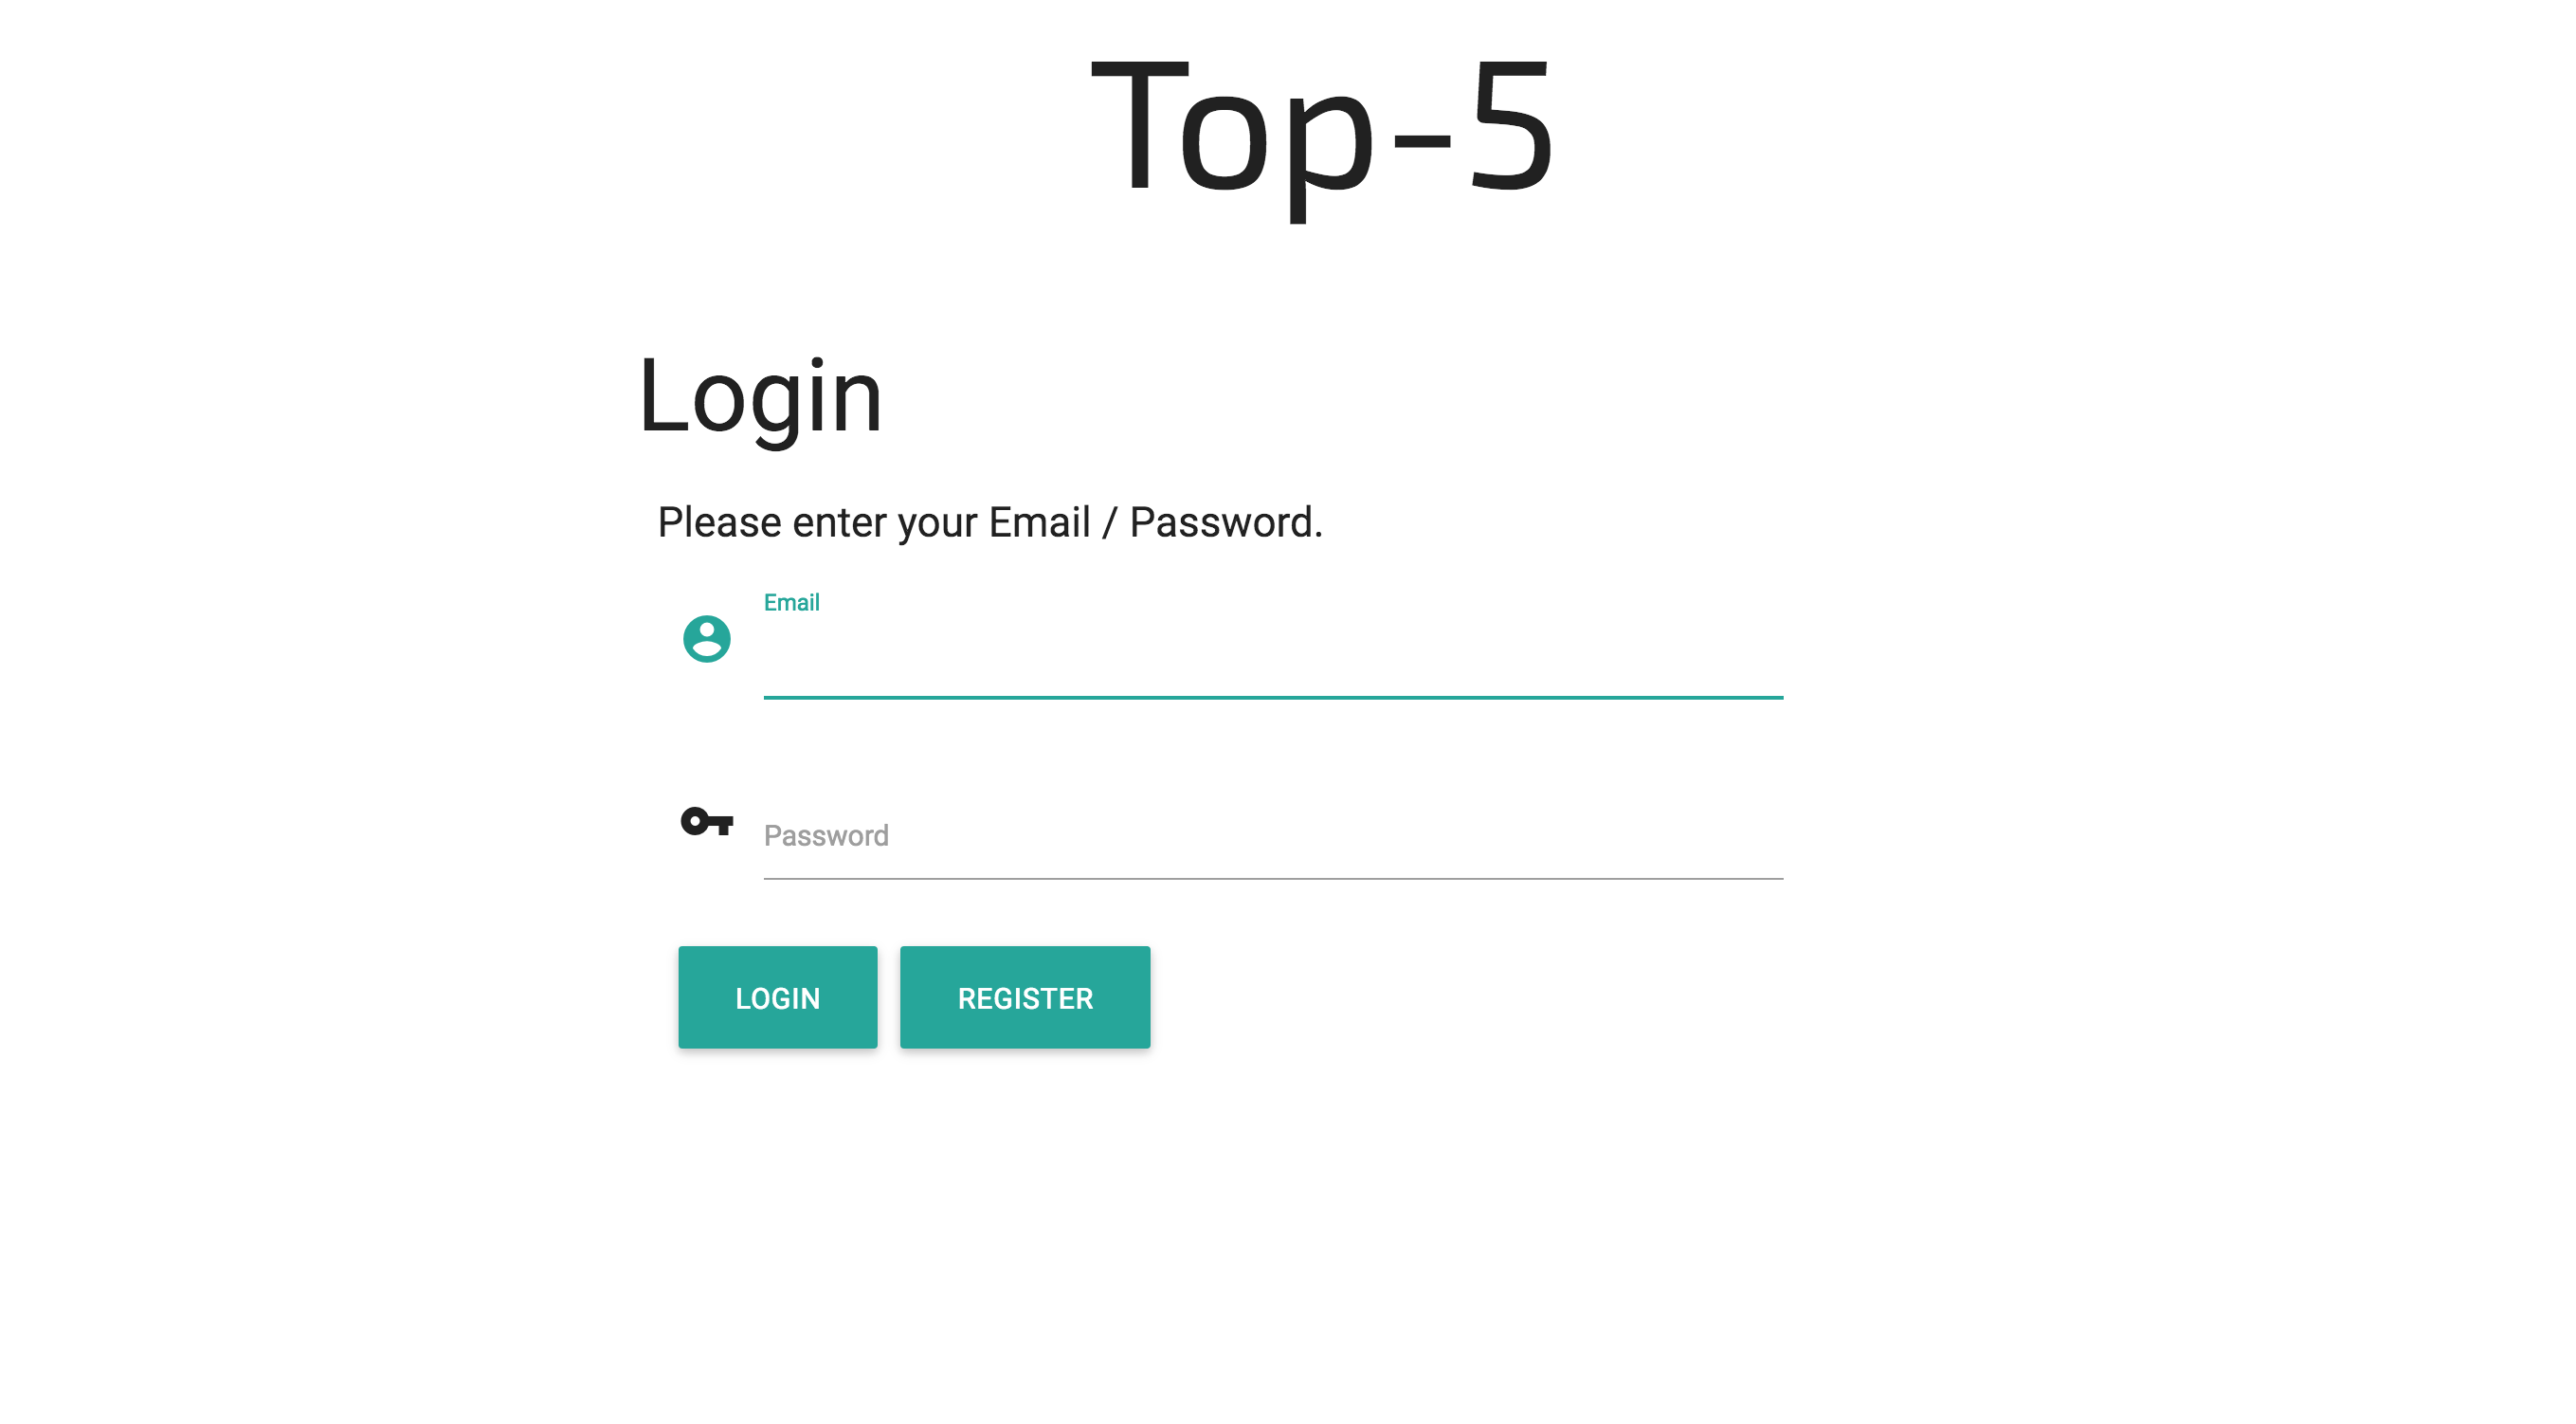
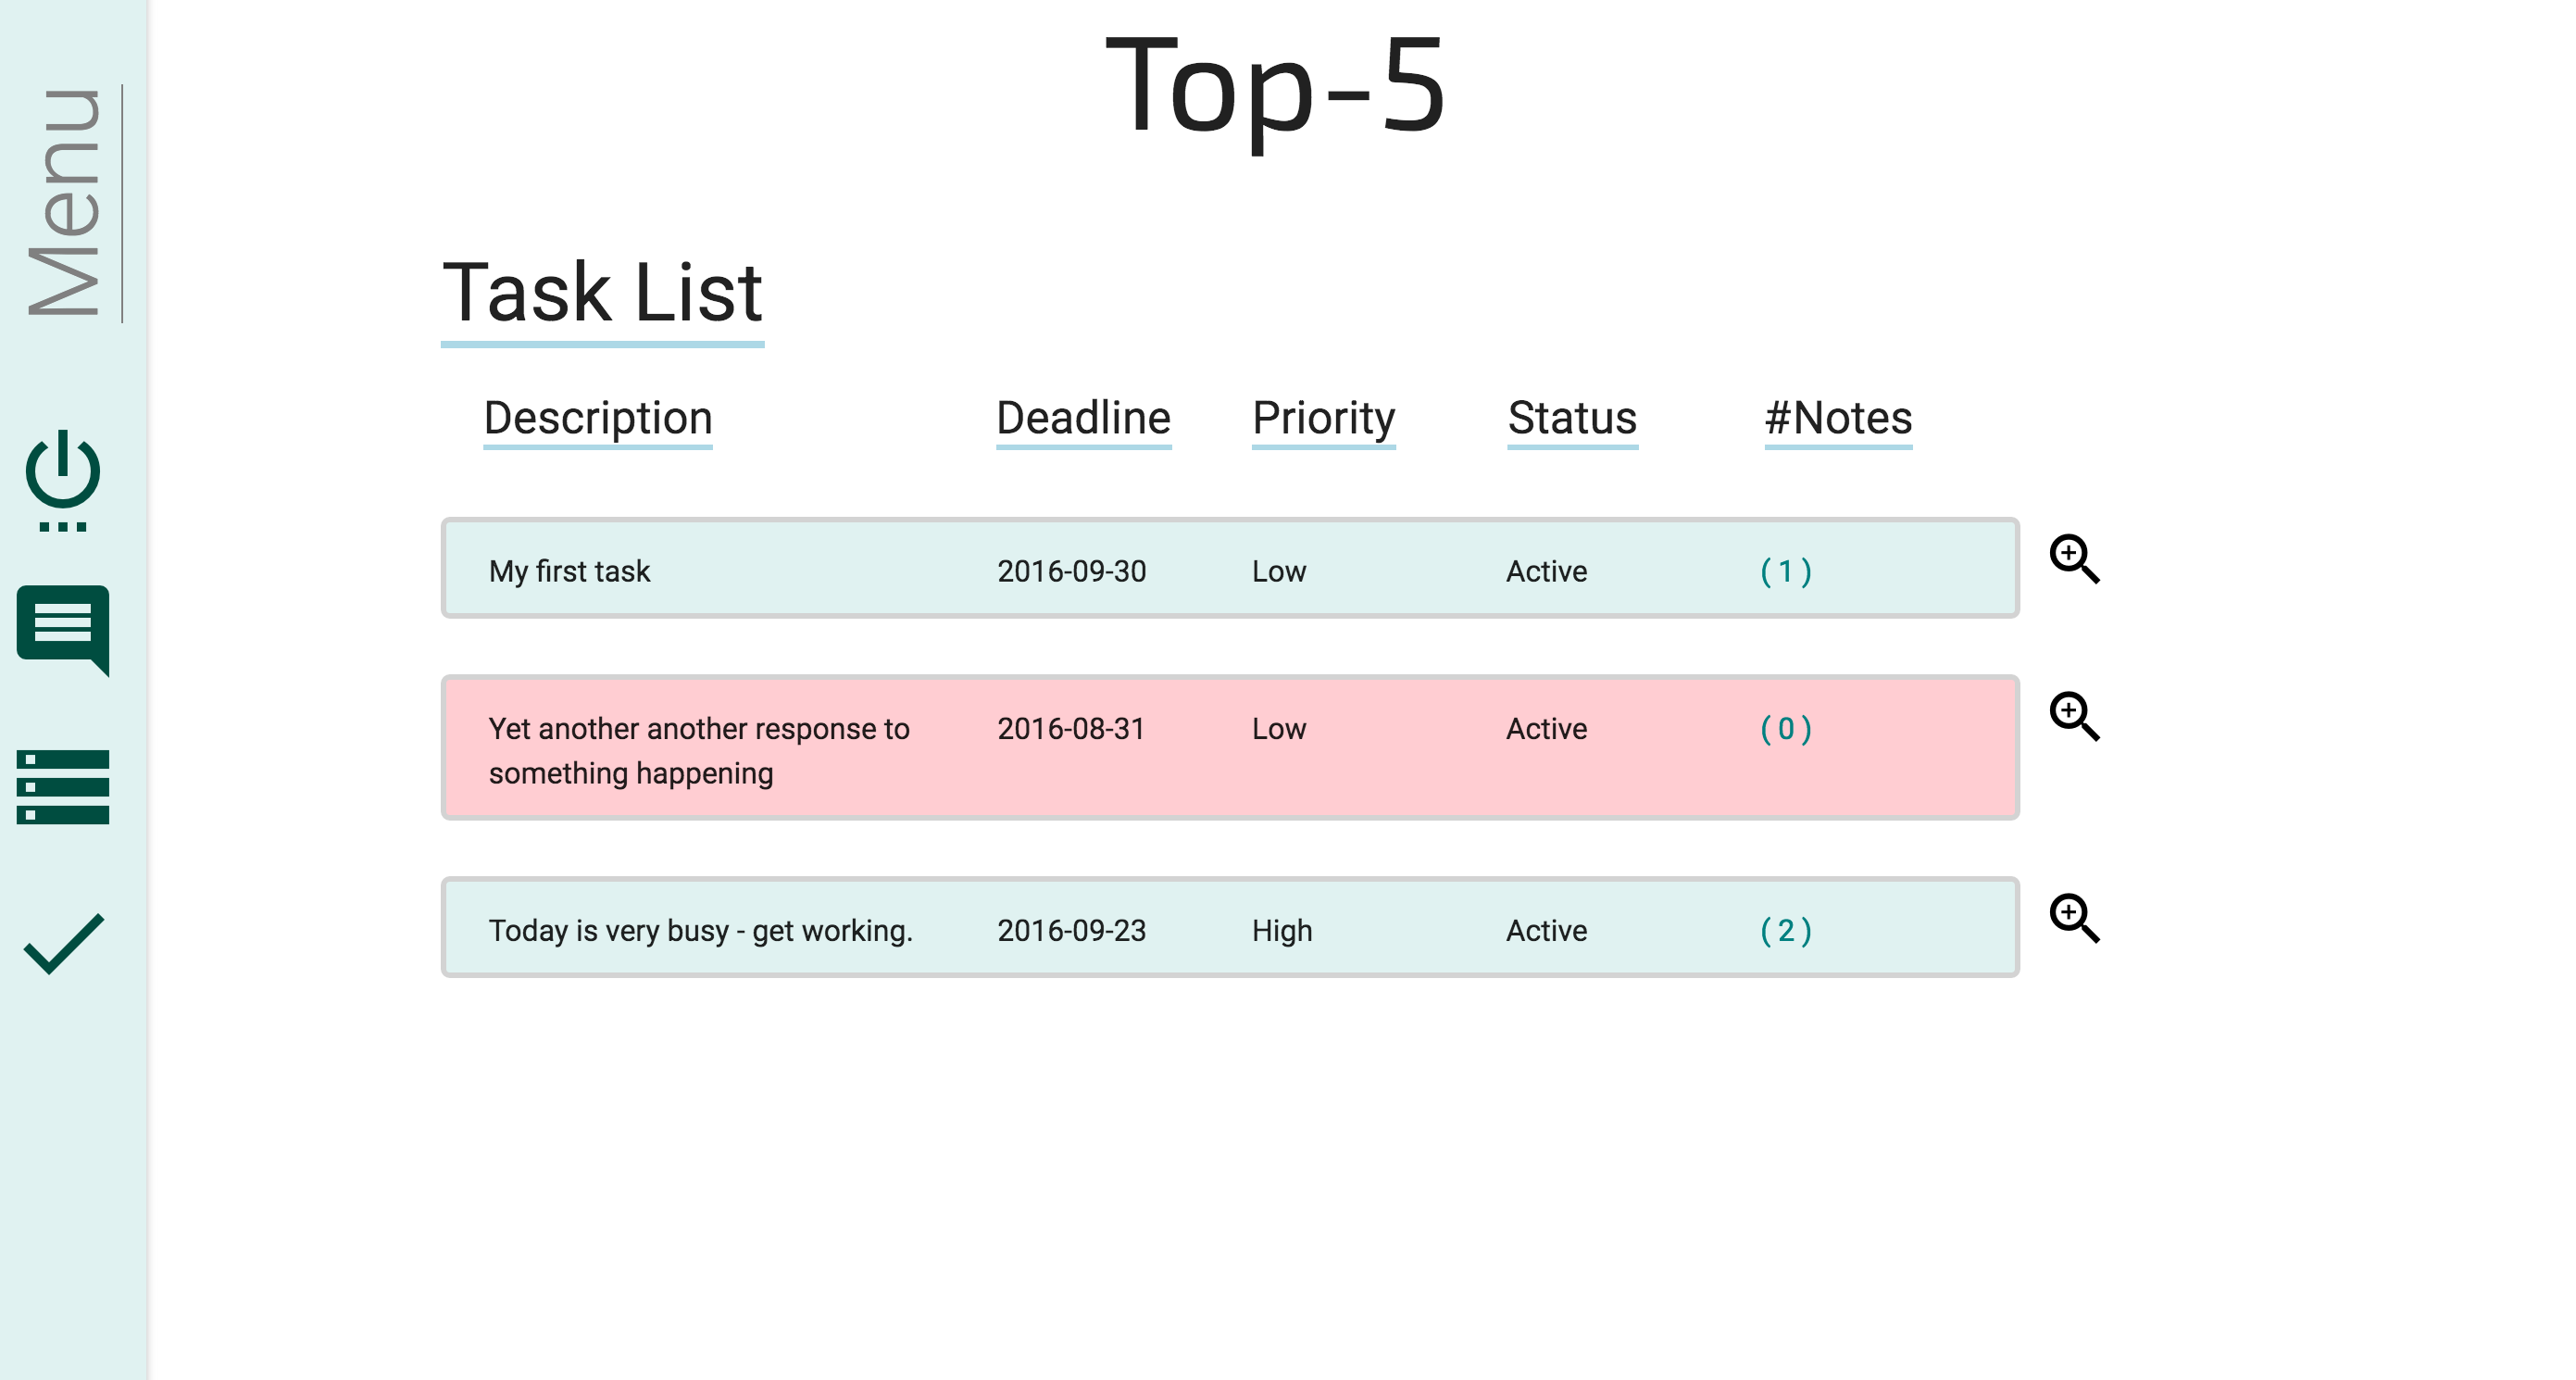
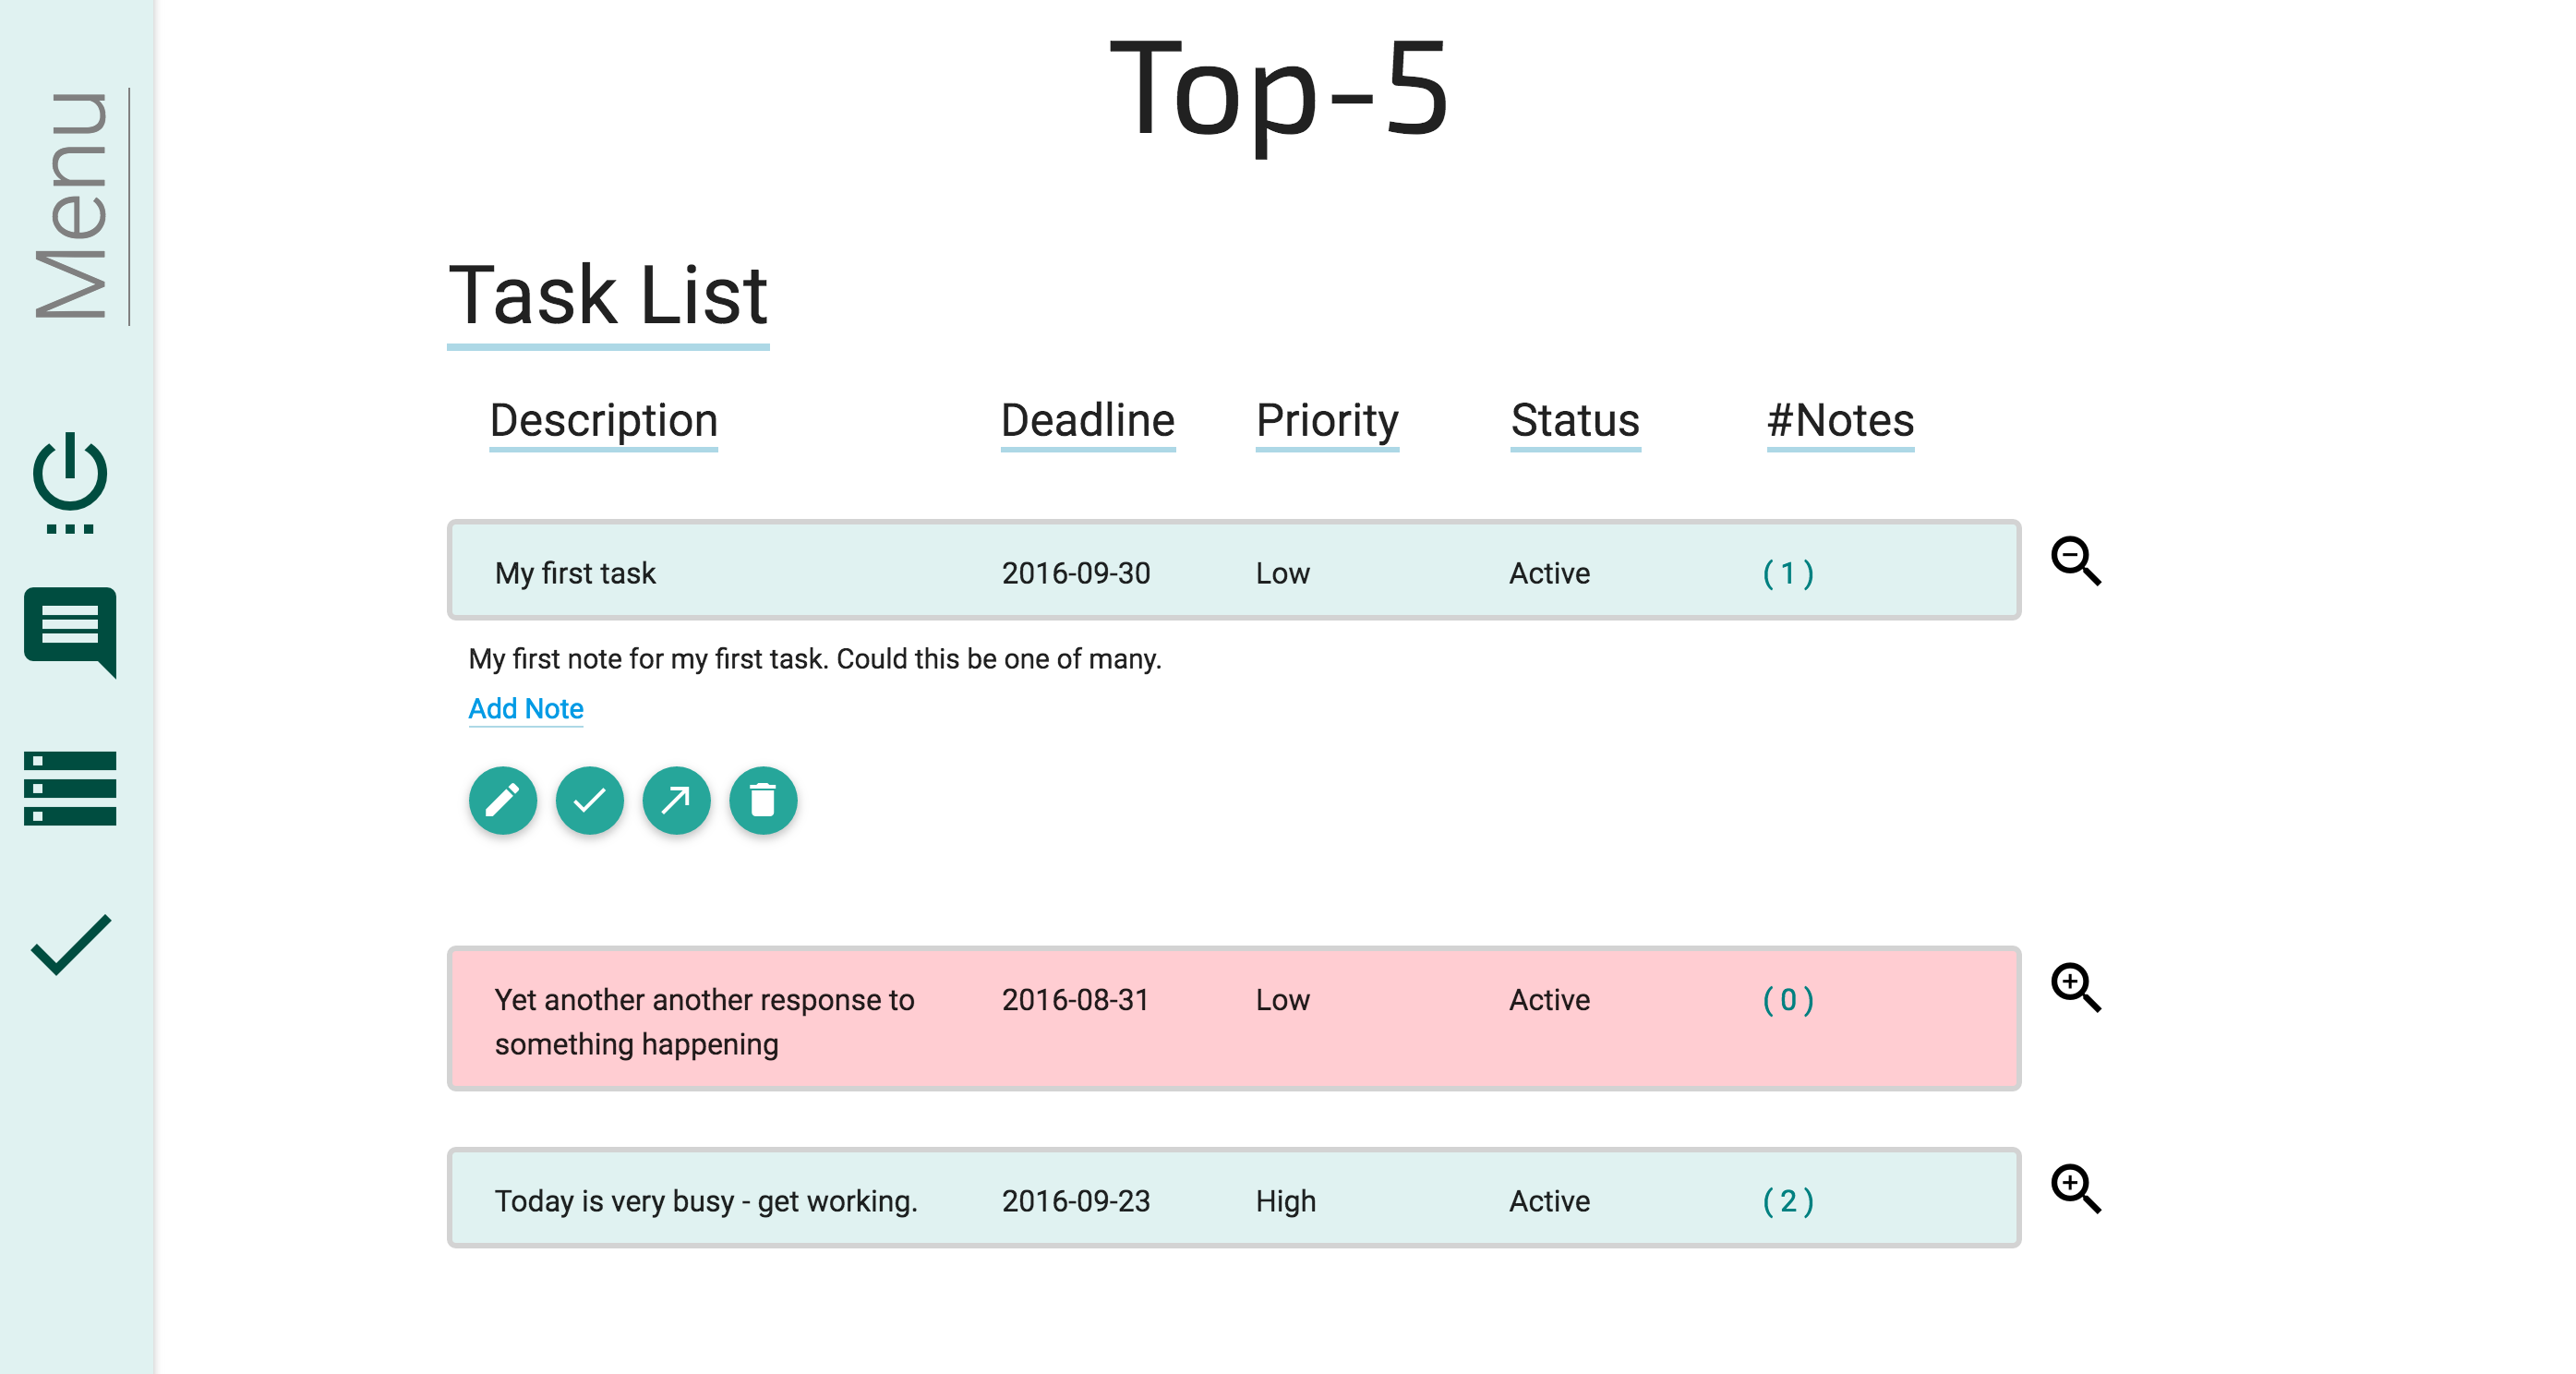
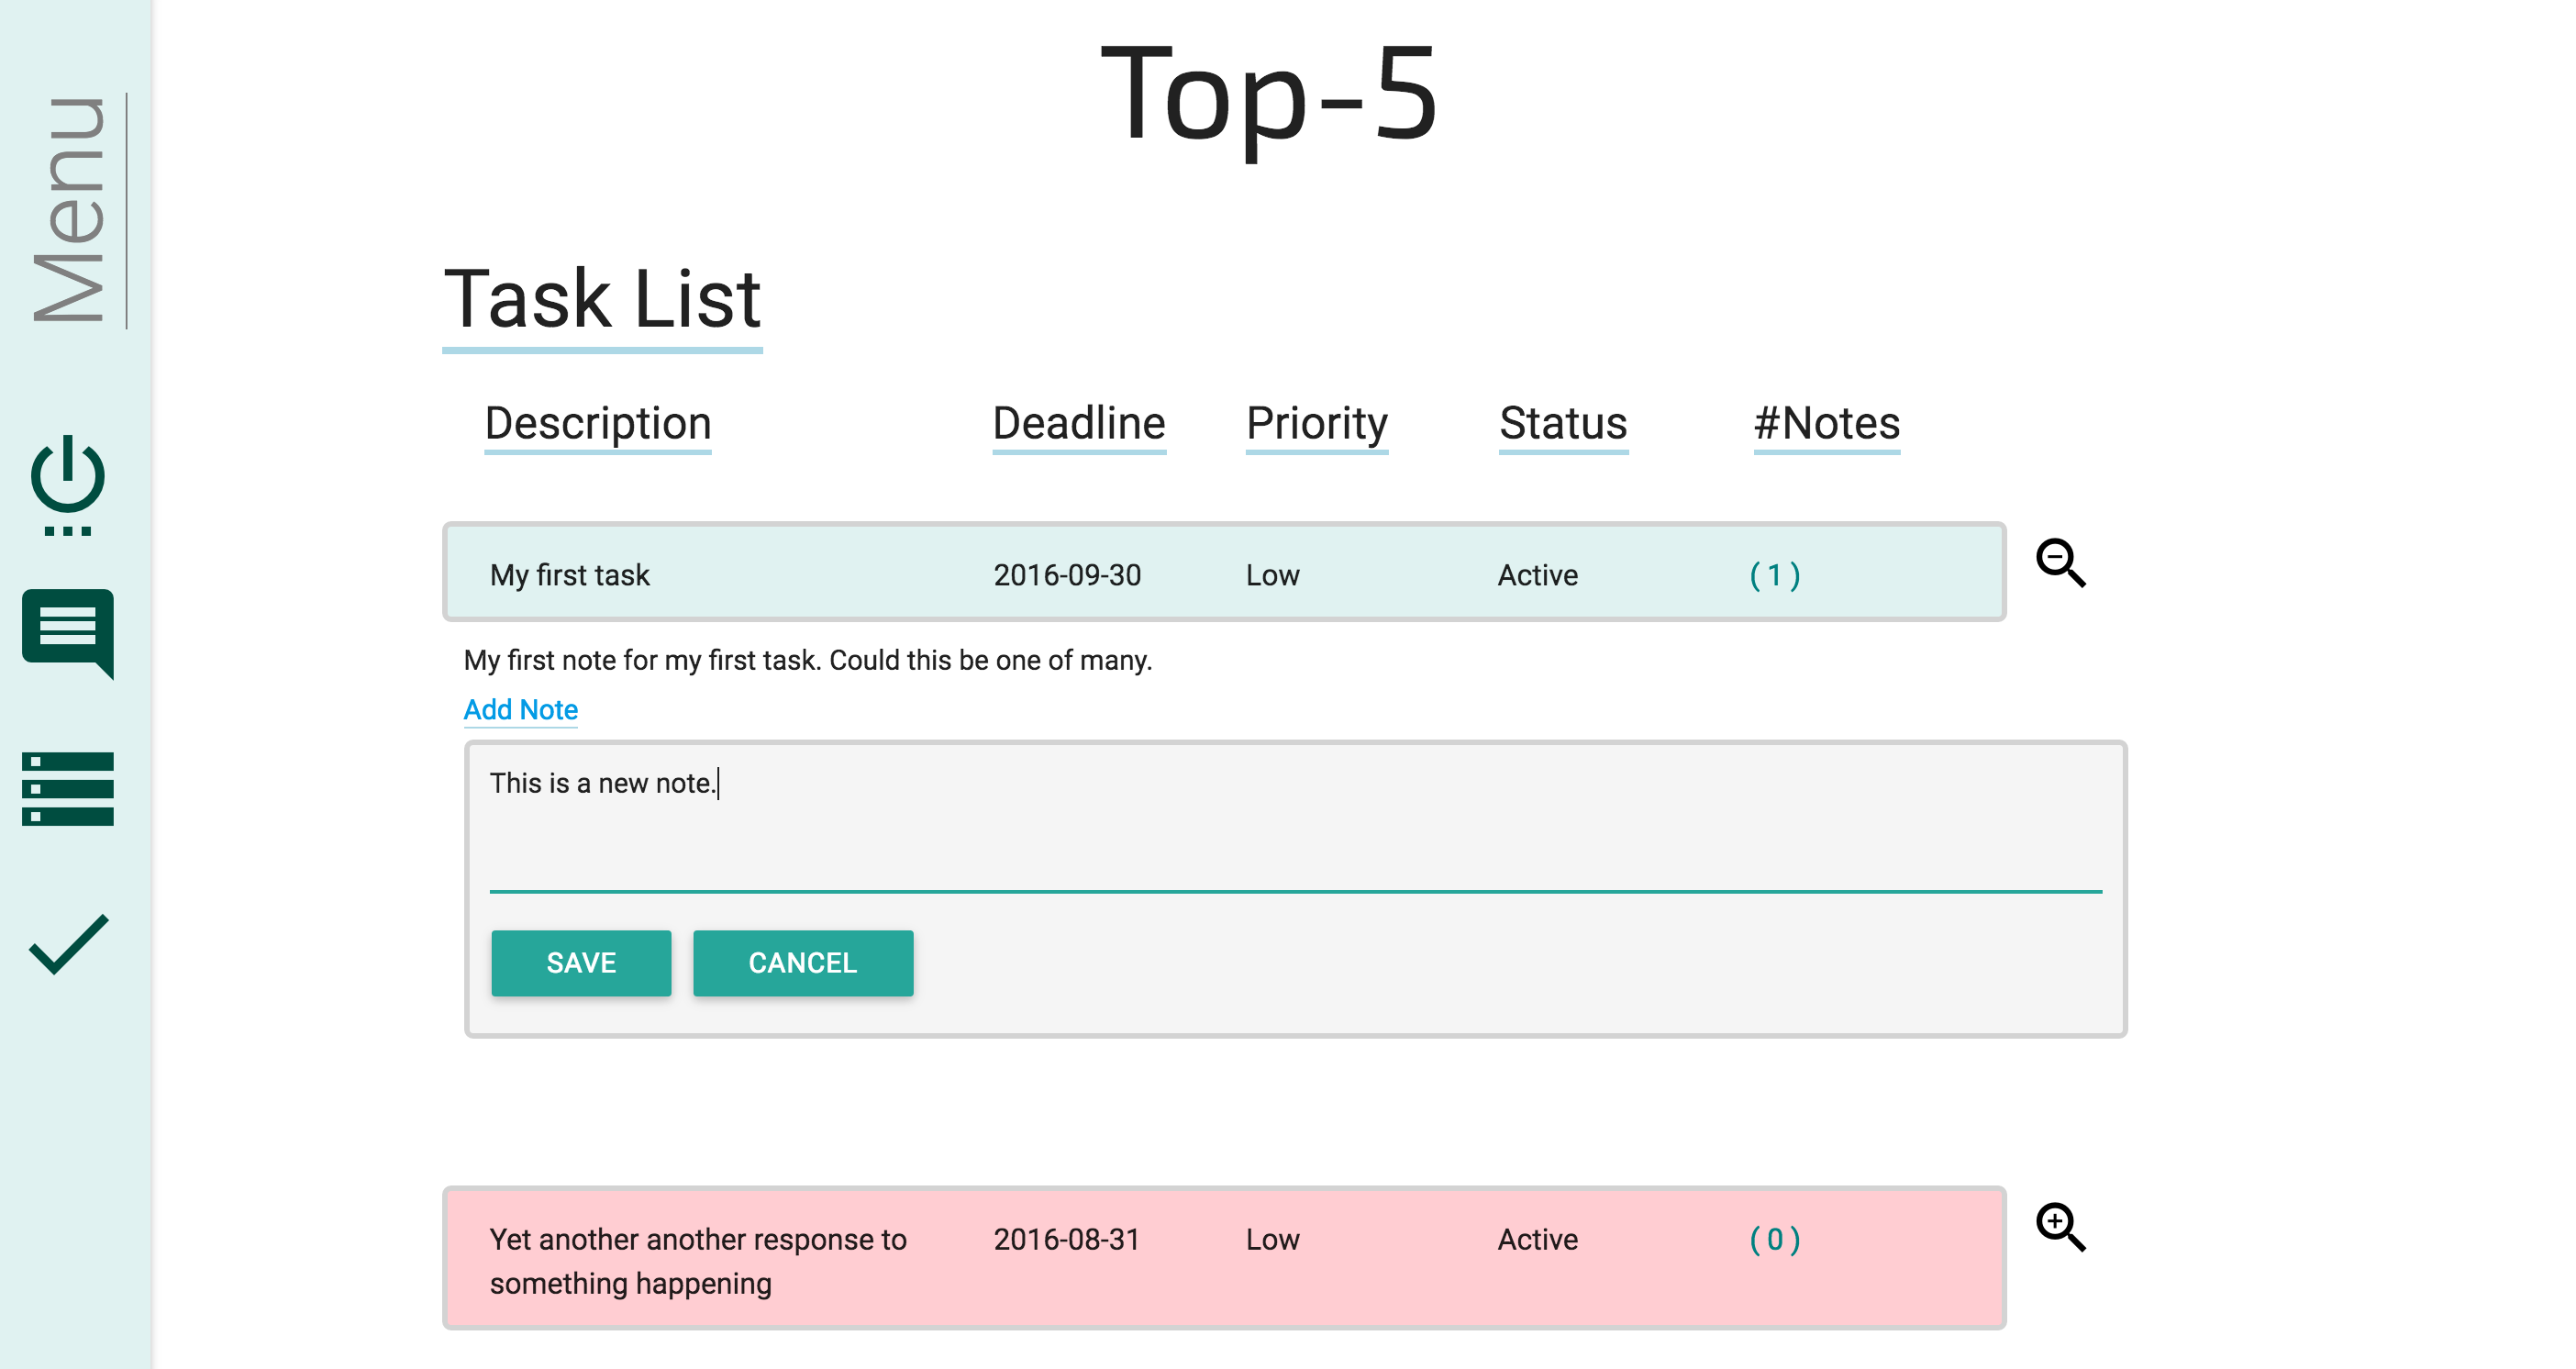
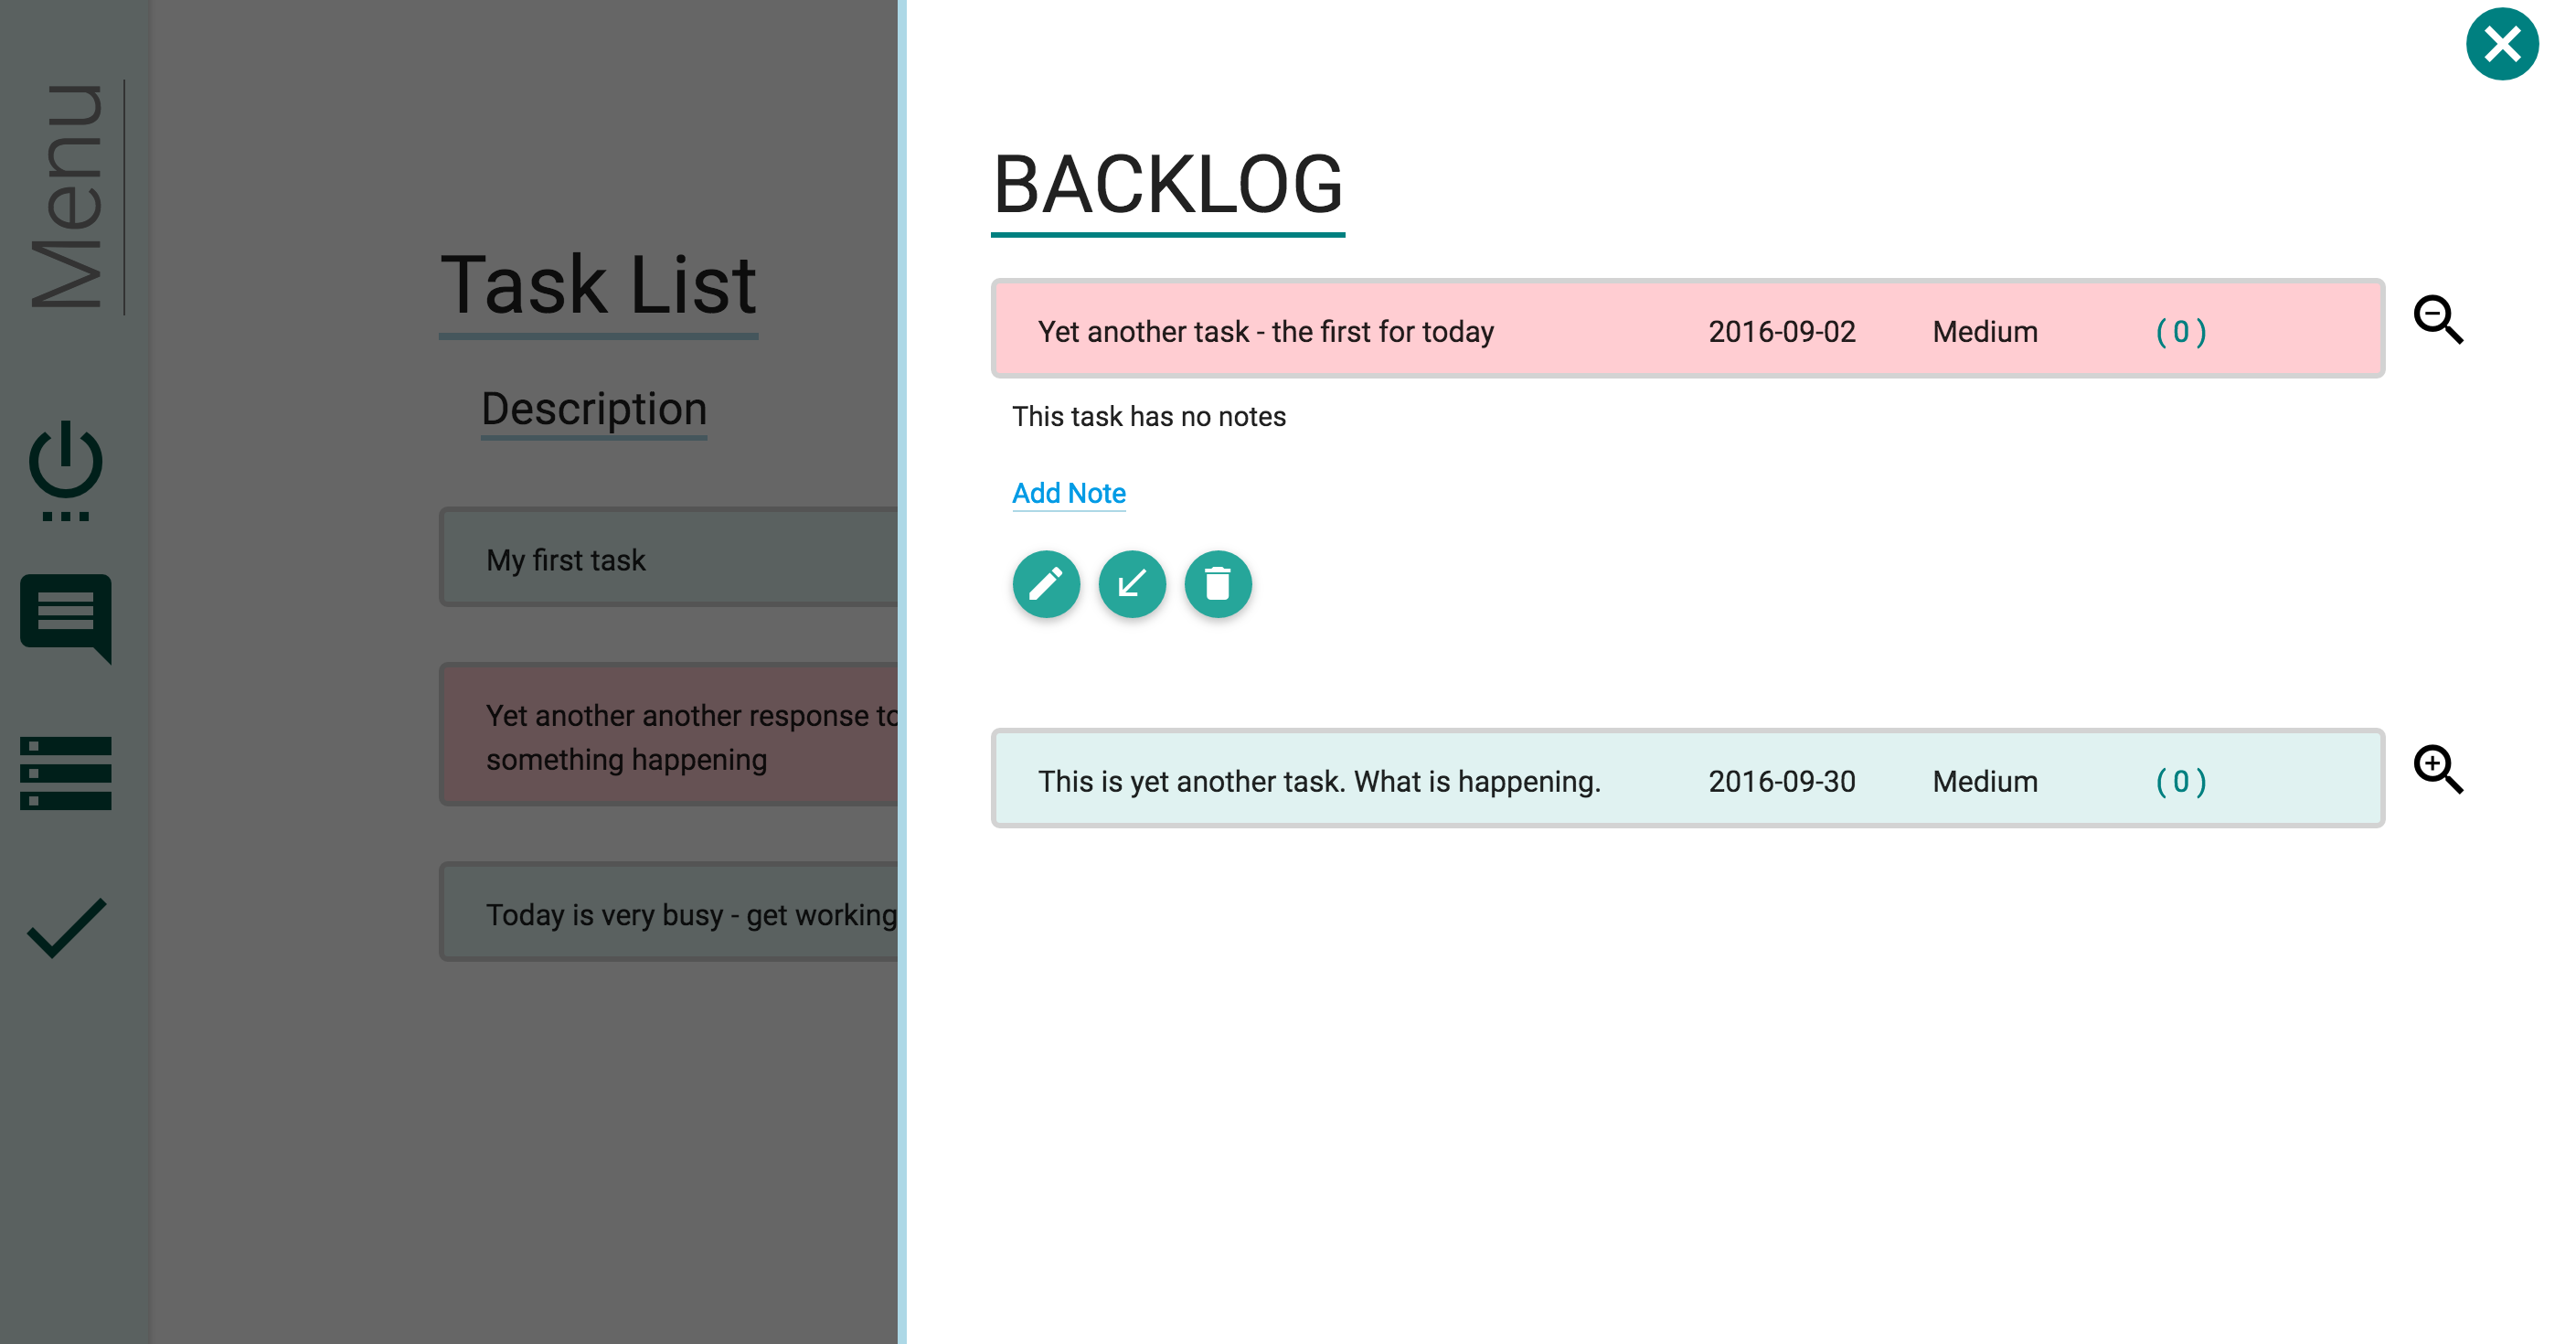
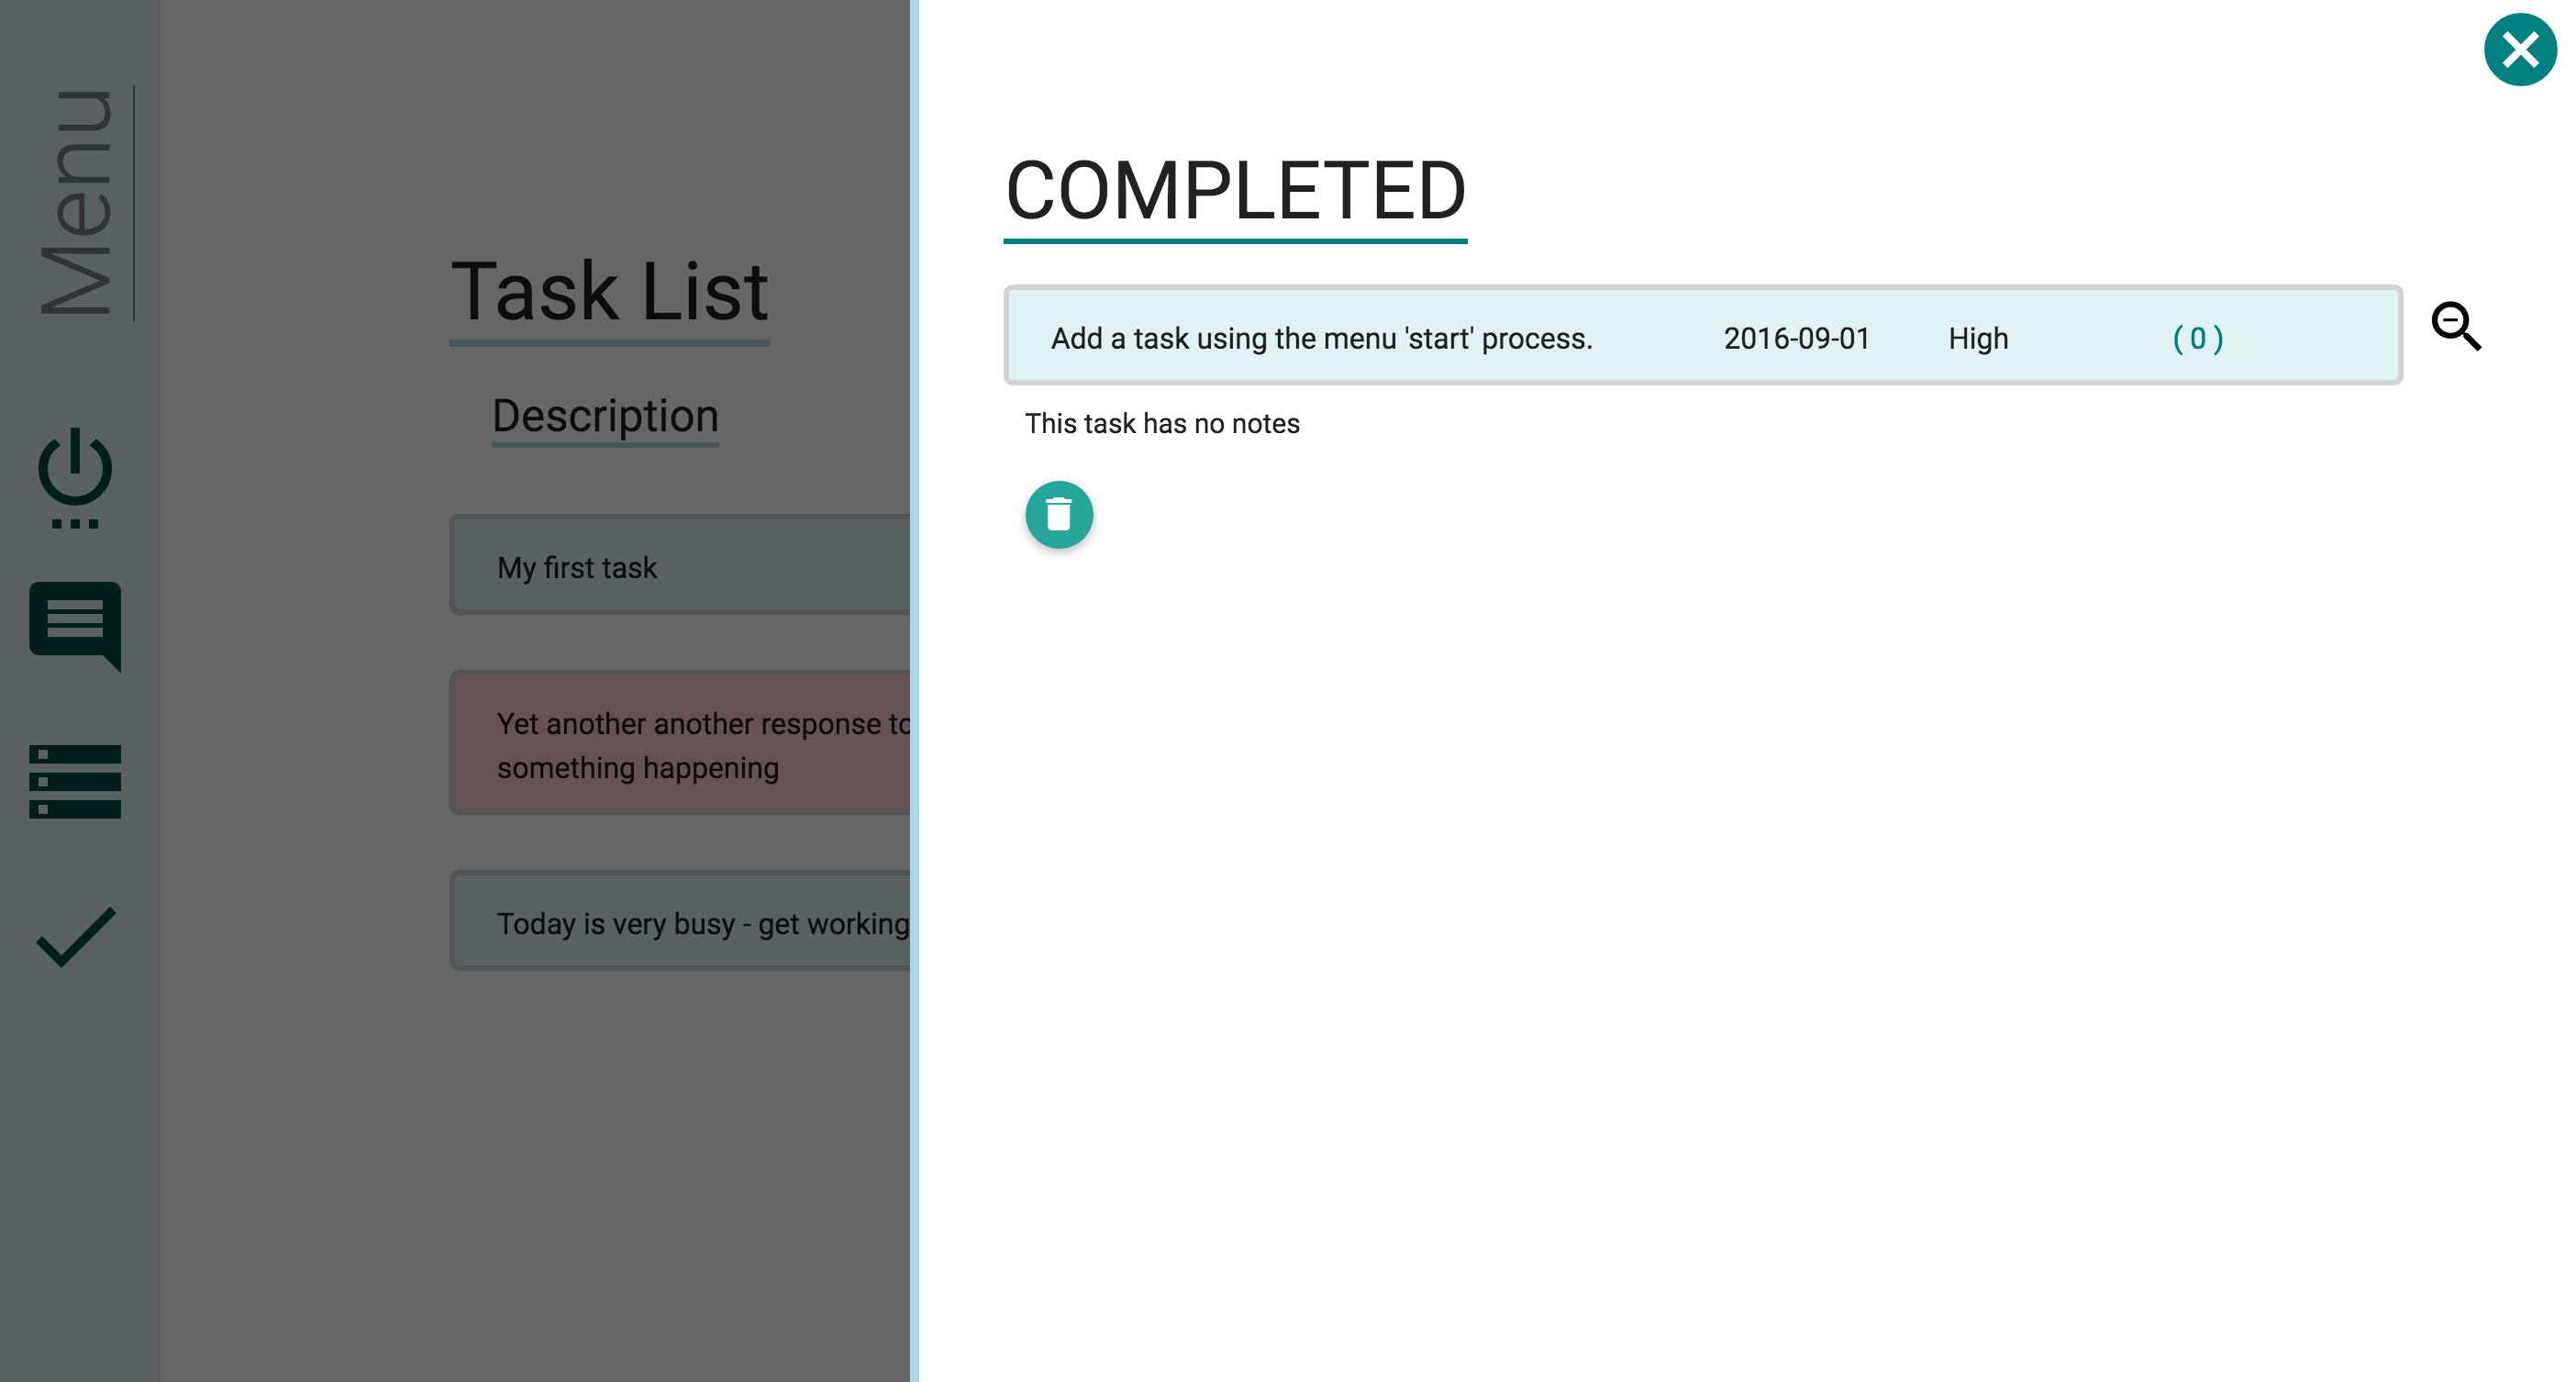
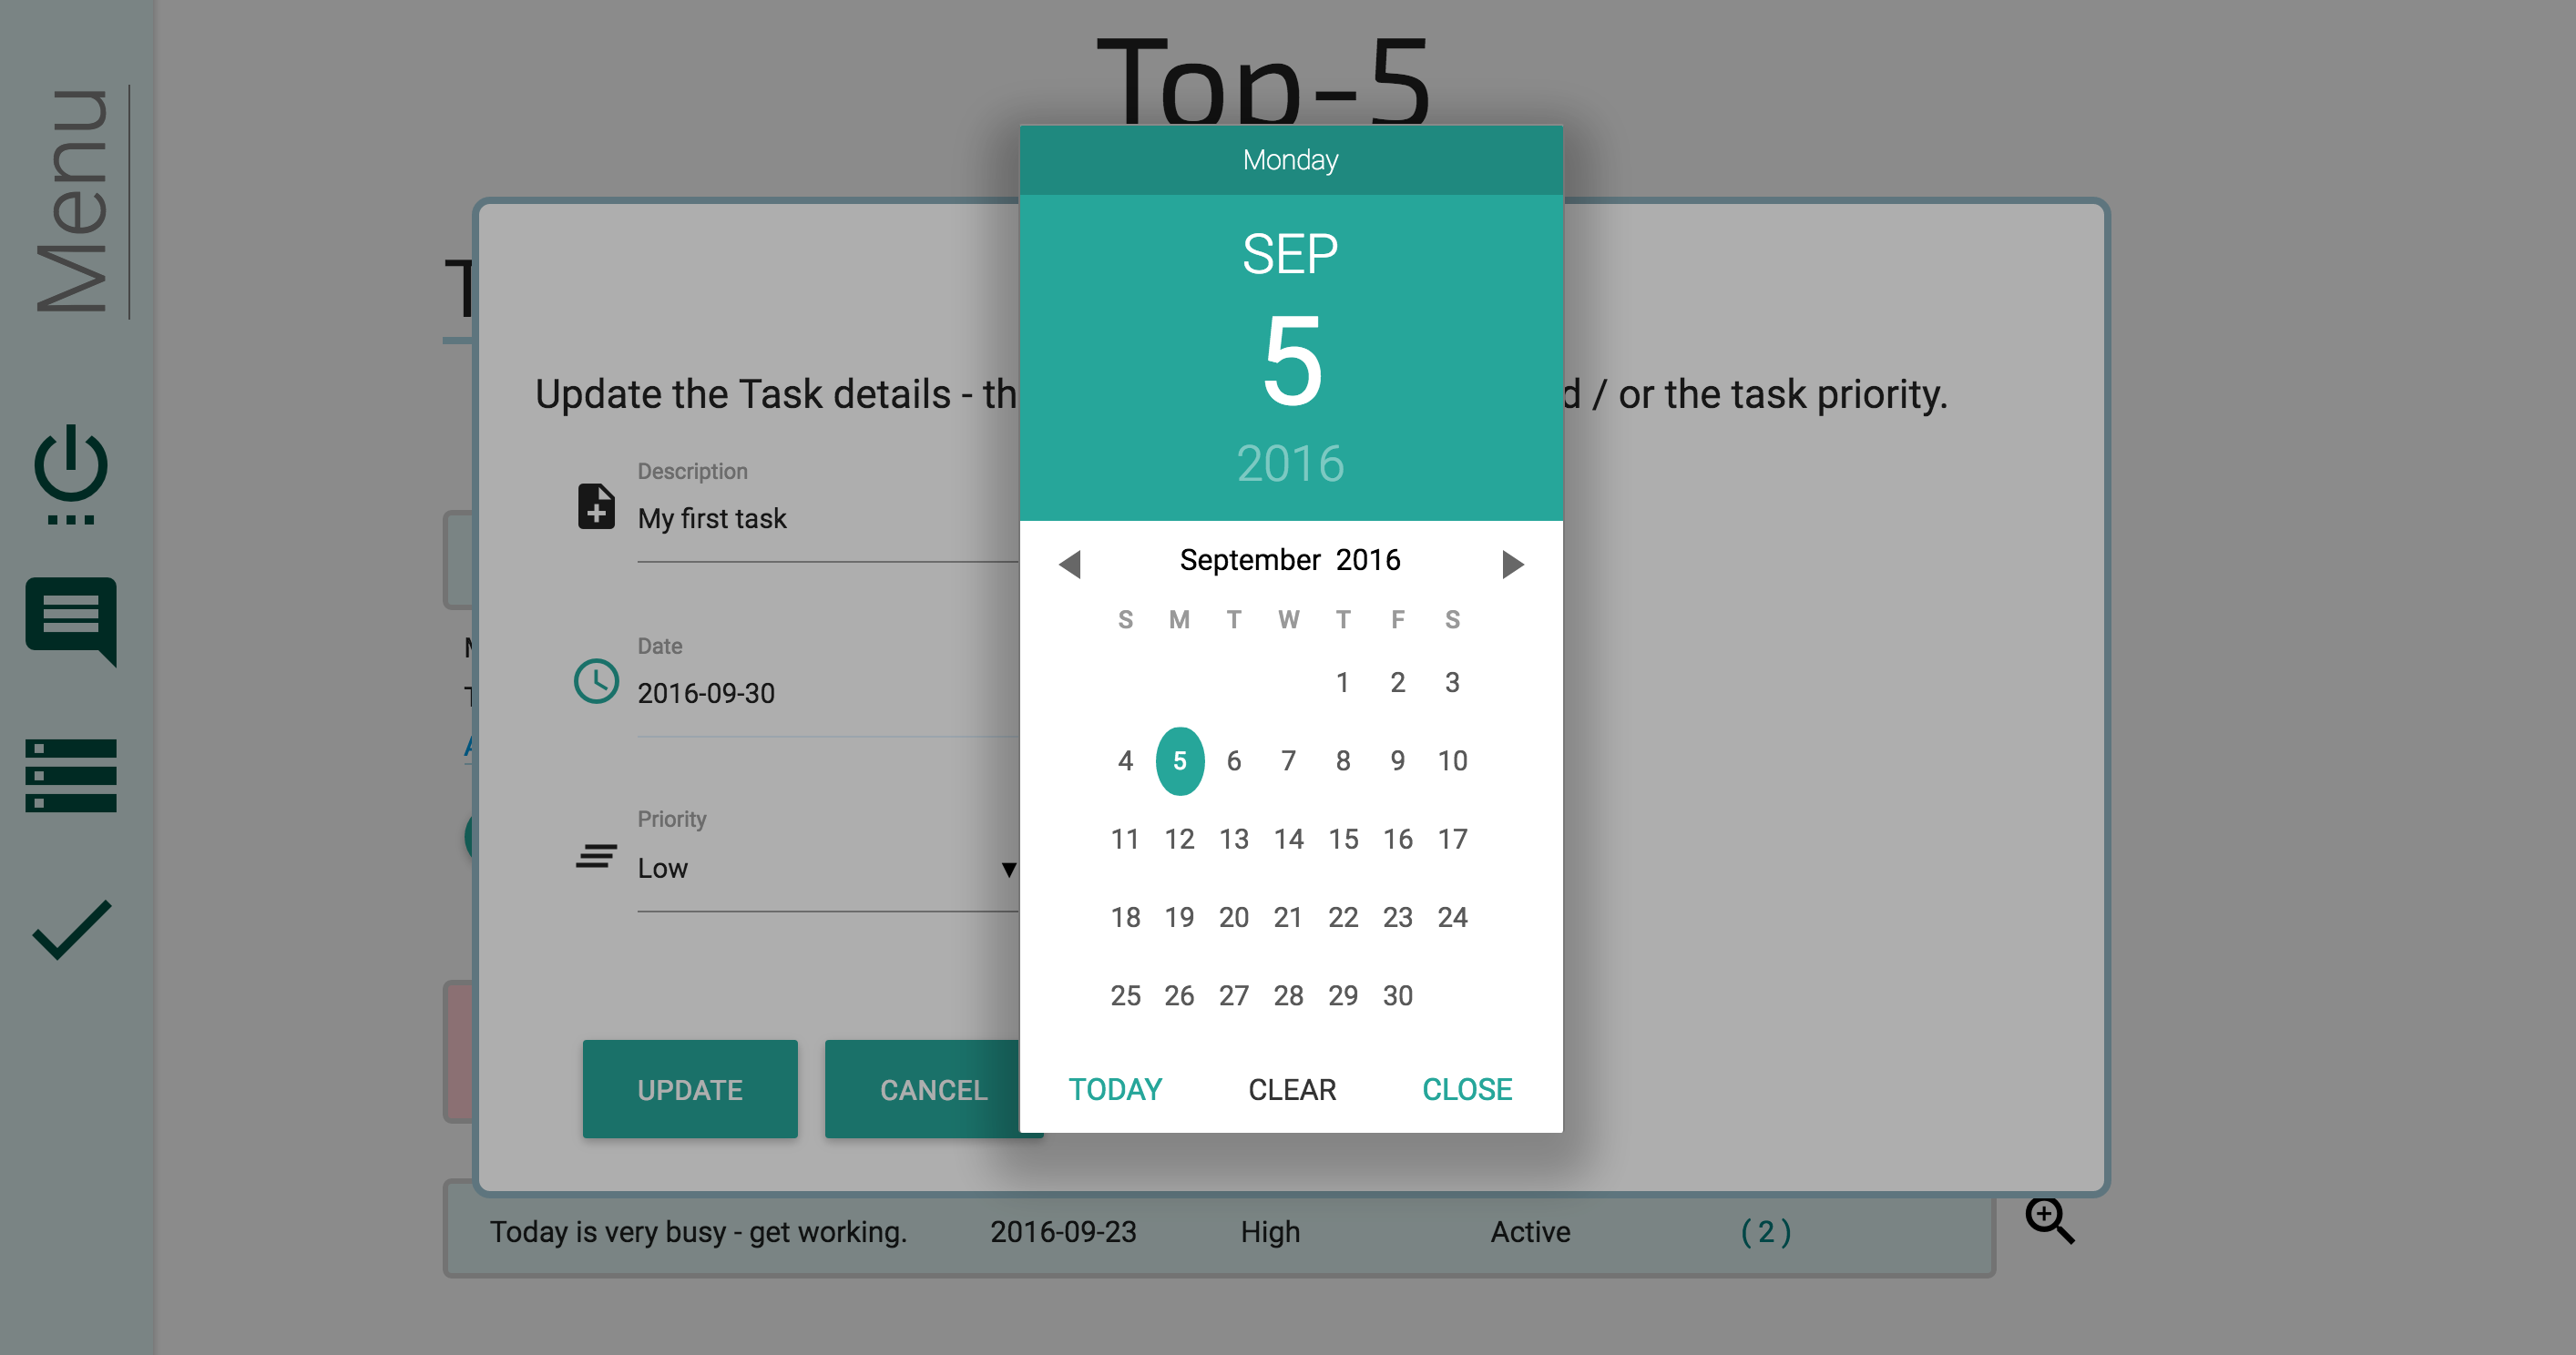
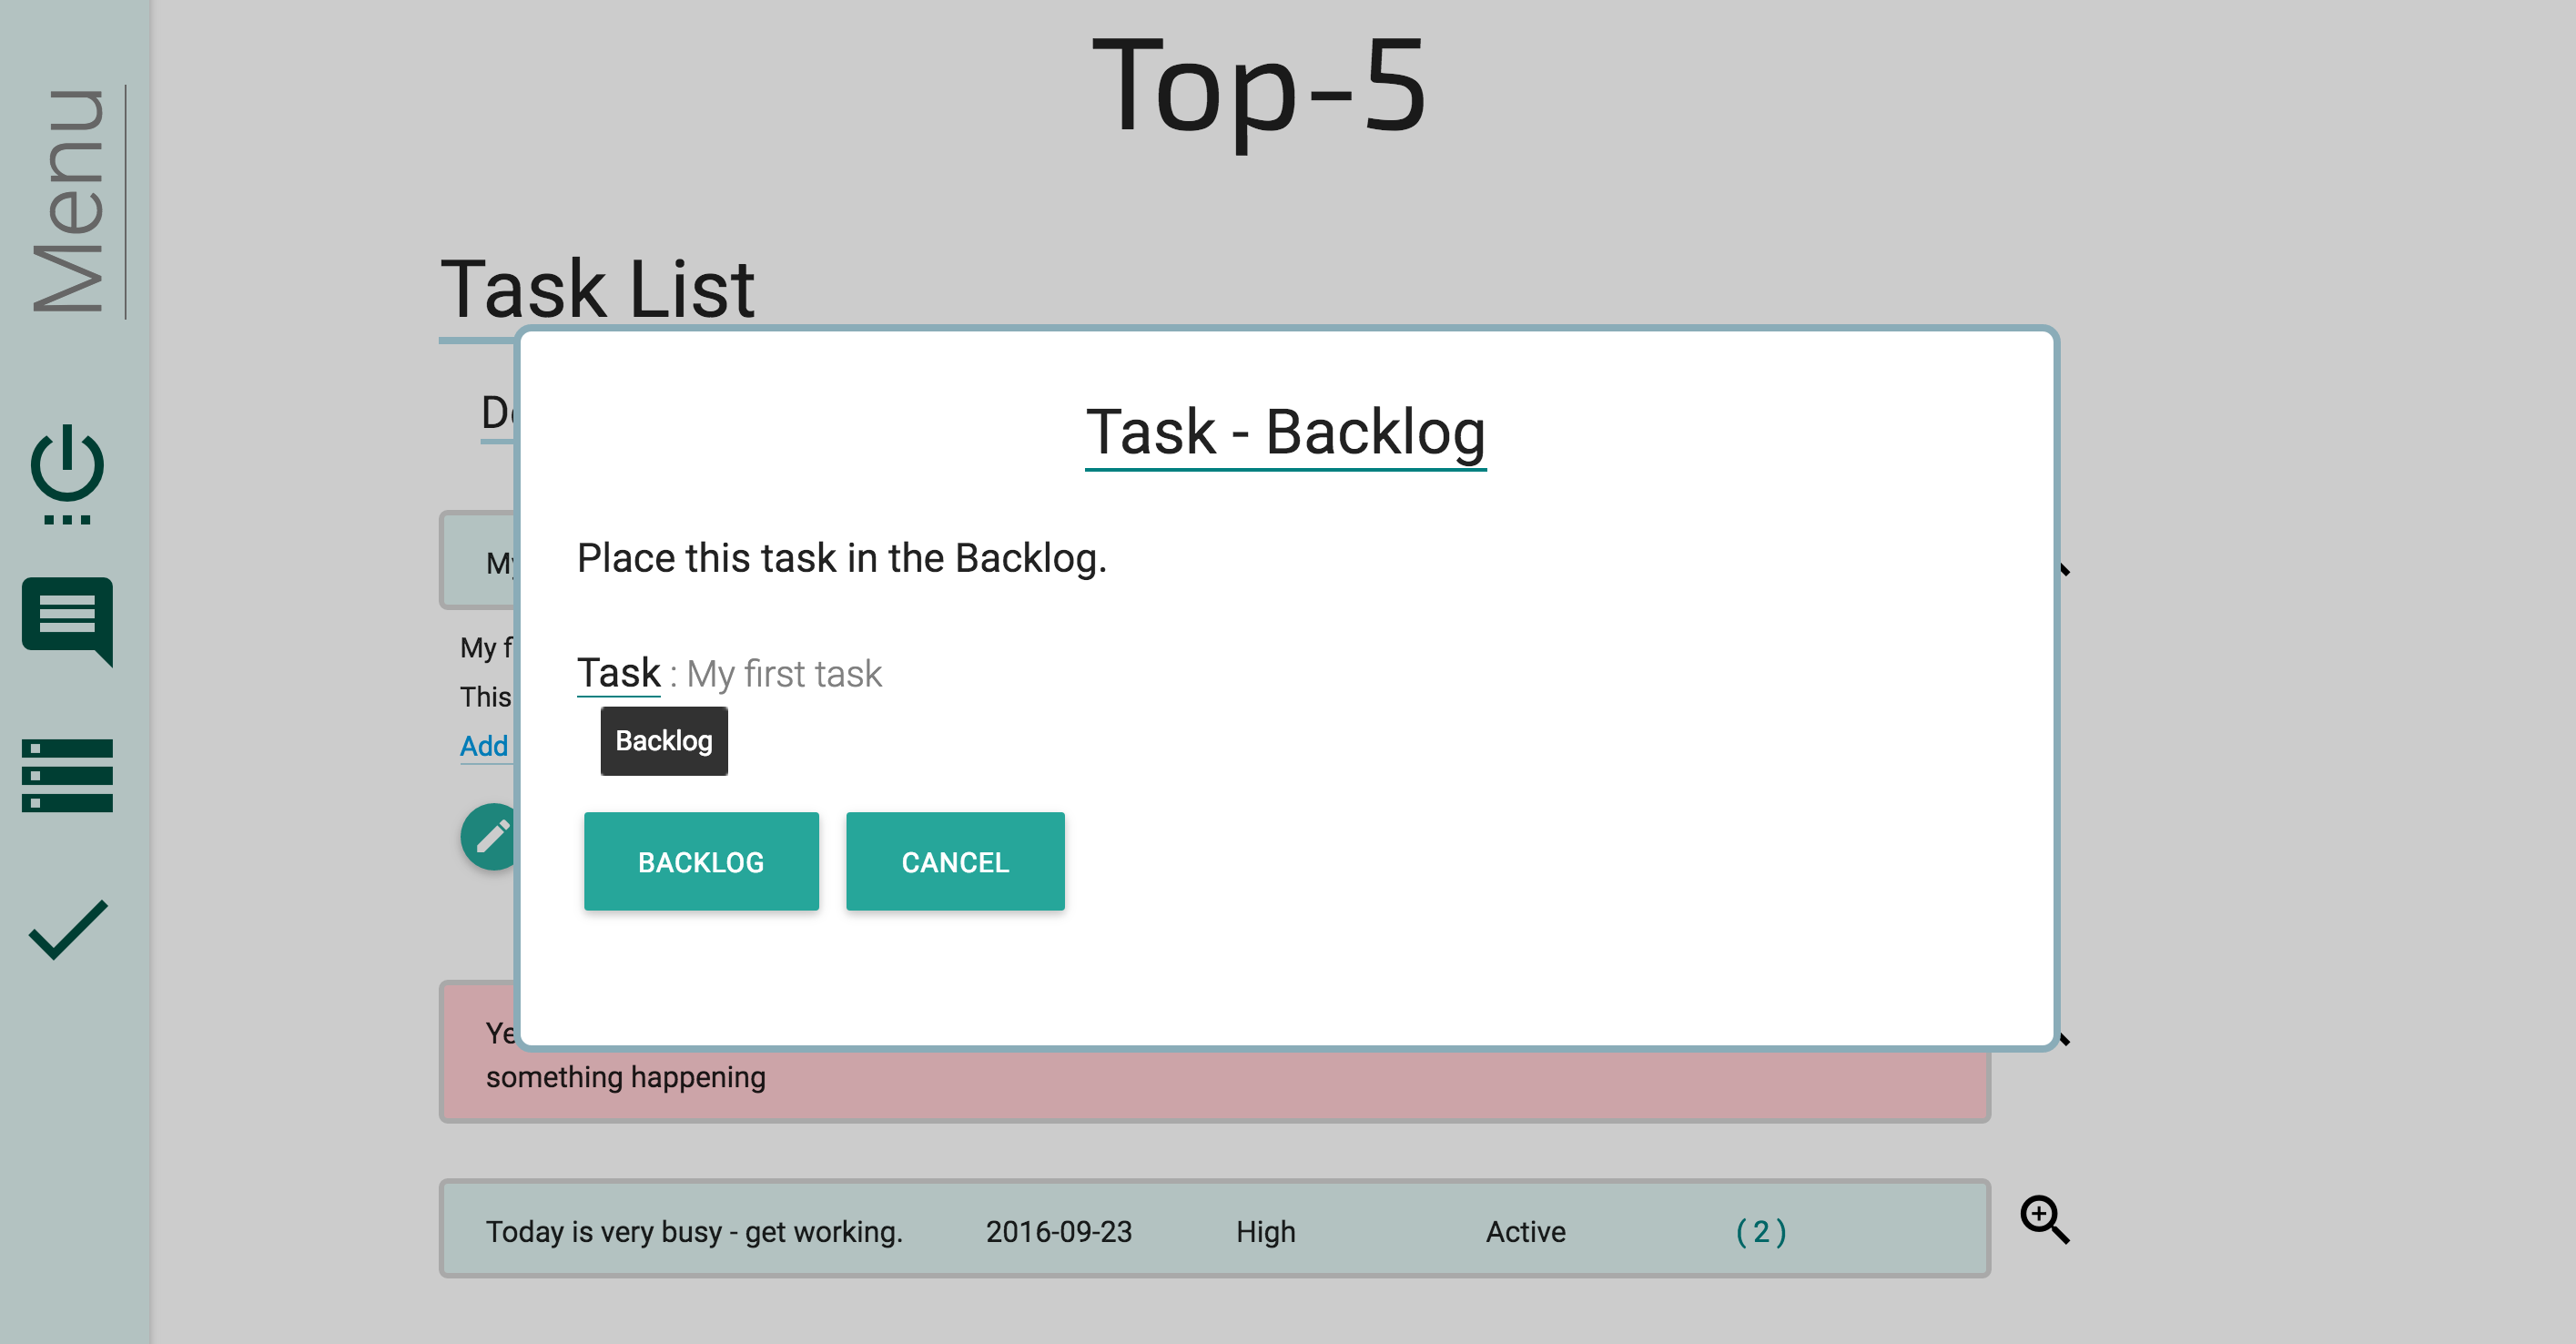
There are undoubtedly things that could be improved. The code can be found on github (this may not be the most up-to-date version).
Note :-The icons used by MaterializeJS make use of the italic tag that is not (well not at the time of writing) found in the current version of Seaside. It is easy to add :-
WATagBrush subclass: #WAItalicTag
	instanceVariableNames: ''
	classVariableNames: ''
	poolDictionaries: ''
	category: 'Seaside-Canvas-Tags'

isClosed
	^ false.

tag
	^ 'i'

WAHtmlCanvas (new methods)

italic
	^ self brush: WAItalicTag new

italic: aBlock
	self italic with: aBlock
Also please note that this application is dependent on the SandstoneDB package being loaded.
Updates :-There are a number of updates that, with time, may be done. These include the ability to edit notes, the addition of attachments and the ability to drag and drop tasks in order to give a sense of priority to the list of tasks in the task list and the backlog.
Seaside jQuery - Examples
A small app to experiment with the possibilities of adding jQuery Ajax interactions to Seaside. Some of the code from this app can be seen on the Seaside page. A file-out of the code can be found on github.
StockMAN - a more complex Seaside application
Details have been moved - checkout the StockMAN page.
